Building an ADU can sound simple at first. You have extra space on your property, you choose a model, and eventually there is a small home in the backyard. That is the easy version people like to imagine.
The real process has more steps. There are local rules, permits, site conditions, utilities, delivery access, and budget decisions to think through. None of this means an ADU is a bad idea. It just means the project works better when the right questions are asked early.
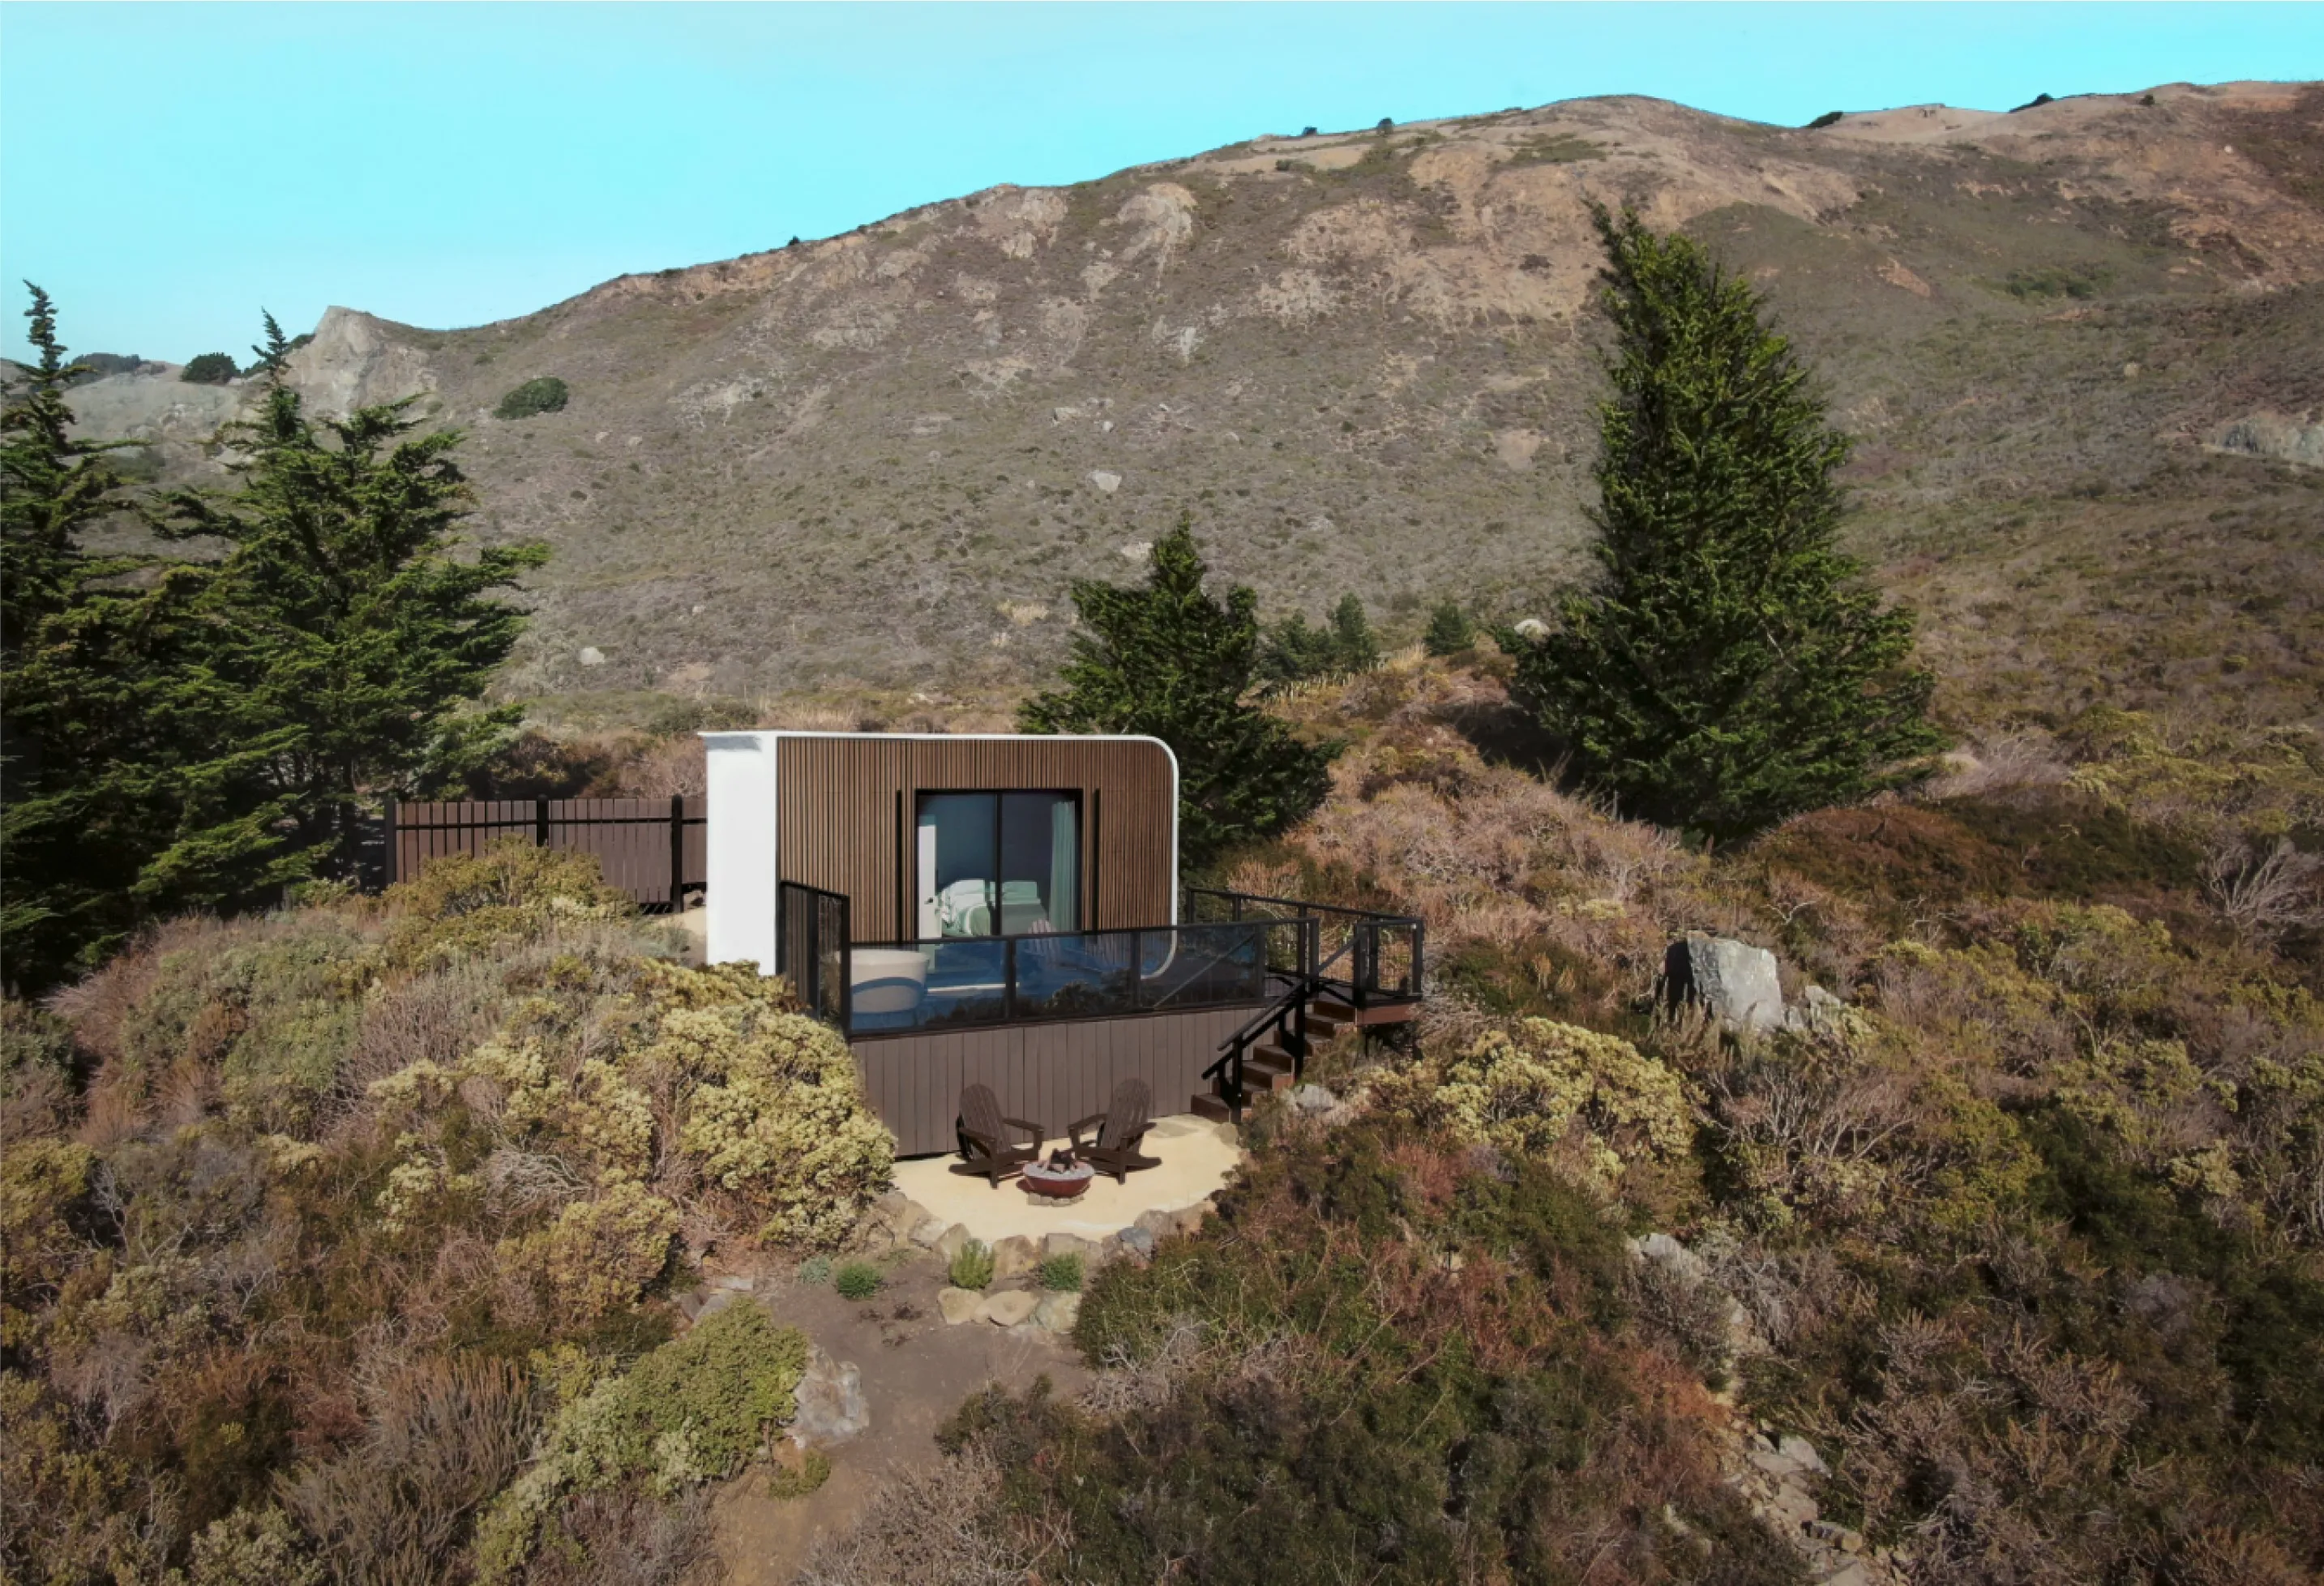
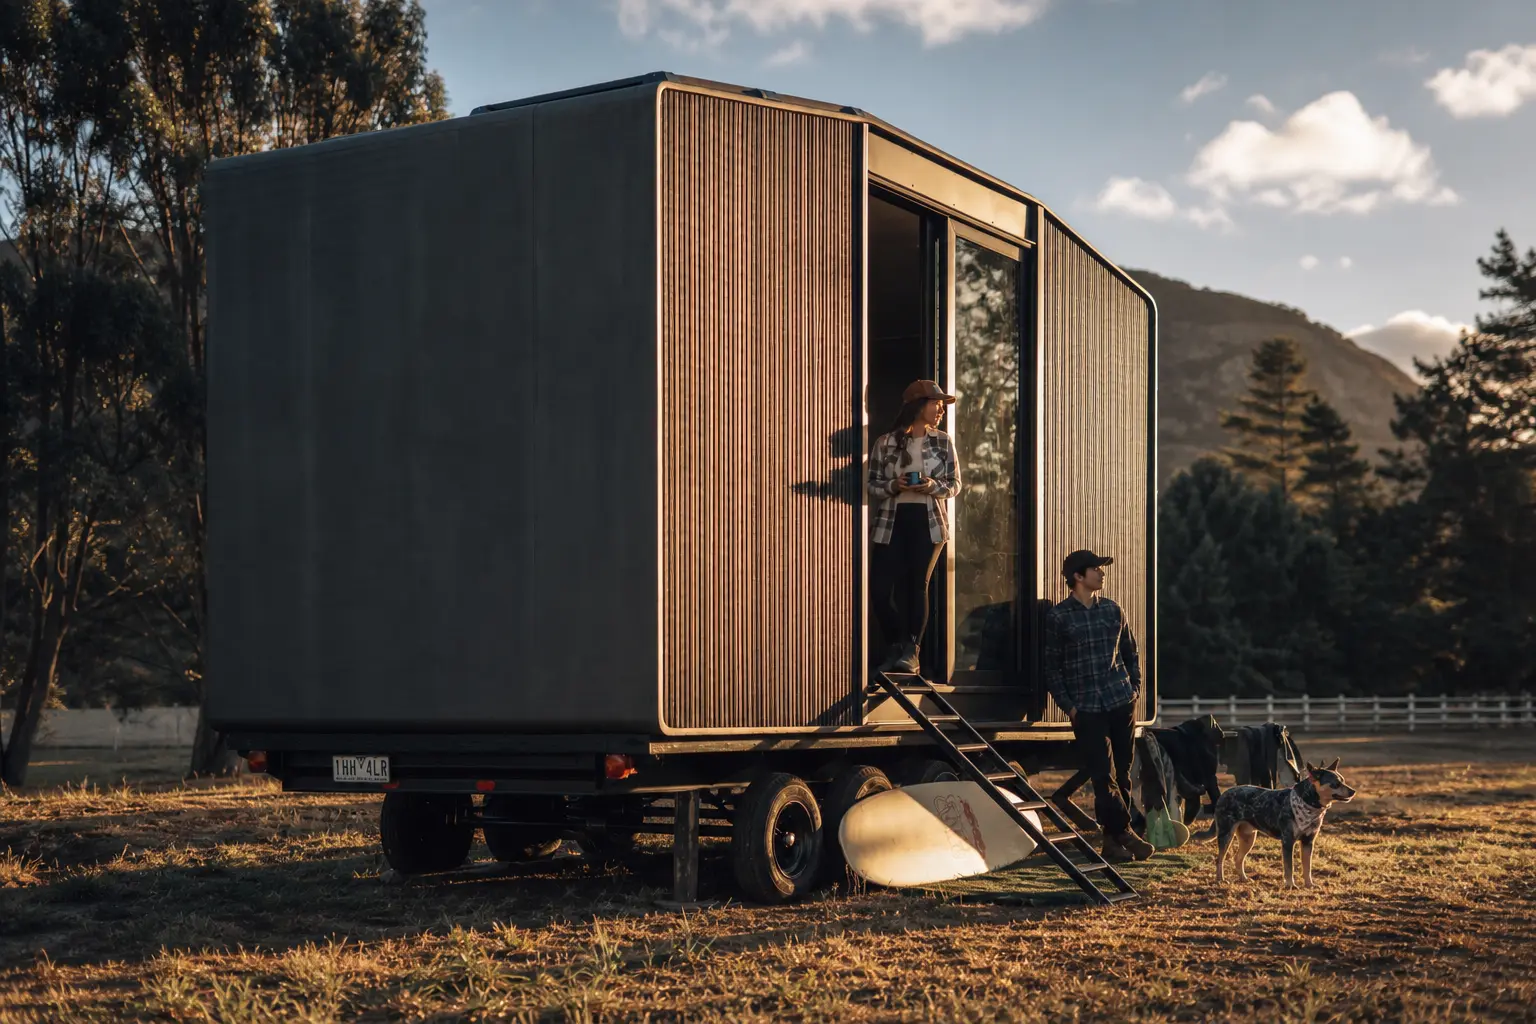
At Azure Printed Homes, we build 3D-printed modular ADUs using recycled materials because we want backyard housing to feel more predictable than a long traditional build. Our units are printed and prefabricated off-site, then delivered and installed once the property is ready.
That approach can reduce a lot of the usual construction mess. Still, an ADU is a real living space. It needs a clear purpose, a legal path, proper utility connections, and a site that can support it.
The good news is that building an ADU does not have to feel overwhelming. It becomes much easier when the project is handled in the right order.
Start With the Reason for the ADU
Before choosing a model, start with the use.
This sounds obvious, but it is where many projects get ahead of themselves. An ADU for a parent is different from an ADU for rental income where local rules allow it. A guest unit is different from a long-term living space. A home for an adult child may need more privacy than a simple backyard guest setup.
The first question should be: what does this ADU need to do?
It may be used for:
- Family housing
- Guest space
- Rental income where allowed
- A caregiver or aging parent
- An adult child
- A flexible backyard home for future needs
- Downsizing while staying on the same property
Once the purpose is clear, the rest of the decisions become easier. Size, layout, privacy, access, parking, utilities, and budget all depend on how the space will actually be used.
A smaller ADU may work well for one person or occasional guests. A larger unit may be better for long-term living, family use, or a more complete second home on the property. The right model is not always the biggest one. It is the one that fits the real use without making the project harder than it needs to be.
Check the Property Before Choosing the Model
An ADU is not just a product. It has to work on a real property with real conditions.
This is why the site should be reviewed before the project goes too far. A floor plan may look perfect, but the property has the final say. Local rules, setbacks, grading, drainage, utility access, and delivery space can all affect what is possible.
Homeowners should check:
- Local ADU rules
- Zoning and property type
- Setbacks from property lines
- Lot coverage limits
- Fire access
- HOA or community restrictions
- Drainage and grading
- Existing trees, slopes, fences, or hardscape
- Distance to water, sewer, and electrical connections
- Delivery access to the installation area
A flat backyard with clear access is usually a simpler project than a narrow lot with a slope, overhead wires, or long utility runs. That does not mean a more complicated site cannot work. It just means the planning needs to be realistic from the start.
It is also important to think about delivery. The ADU may fit in the backyard, but the unit still needs a safe path to get there. Gates, driveways, side yards, fences, trees, rooflines, and equipment access can all matter.
Choose a Model That Fits Real Life and Budget
After the use and site are understood, choosing a model becomes much easier.
Our Homes & ADUs models are designed for more complete residential use. They include practical layouts with kitchens, bathrooms, bedrooms, and everyday living space. The right model depends on how the ADU will be used, how much room the property can support, and what budget range makes sense before site work, permits, utilities, and delivery are added.
| ADU Model Size | Layout | Starting Price | Best Fit |
| 360 sq ft | 1 kitchen, 1 bedroom, 1 bathroom | $89,900 | Compact living, guest use, or a single-person setup |
| 540 sq ft | 1 kitchen, 1 bedroom, 1 bathroom | $134,900 | A bit more room while still keeping the project modest |
| 720 sq ft | 1-bedroom or 2-junior-bedroom options, kitchen, bathroom | $174,900 | More separation between living and sleeping areas |
| 900 sq ft | 1 kitchen, 2 bedrooms, 1.5 bathrooms | $219,900 | Family use, longer stays, or a more complete backyard home |
Each model fits a different kind of project. A 360 sq ft ADU may be enough when the goal is simple, compact living. A 540 sq ft model gives the space a little more breathing room. A 720 sq ft layout can work well when the ADU needs more separation or flexibility. A 900 sq ft ADU is better suited for homeowners who need more room for family, longer-term use, or a fuller second home on the property.
The model should not be chosen only by starting price. A smaller unit that does not fit the real use can become frustrating later. A larger unit that stretches the property or budget too far can create problems before installation even begins.
A good ADU feels planned, not squeezed.
Plan the Full Budget
The model price is only one part of the project.
This is one of the most important things to understand before building an ADU. The unit matters, but so does everything needed to place it on the property and make it usable.
A realistic ADU budget may include:
- The ADU model
- Selected finishes and options
- Permit fees
- Plan review costs
- Foundation or anchoring work
- Grading and drainage
- Utility trenching
- Electrical connections or panel upgrades
- Water and sewer connections
- Delivery preparation
- Equipment needed for placement
- Inspections
- Landscaping repair after installation
- Insurance or property tax changes
Not every project will need every item, but the full site should be considered before the budget is treated as final.
Some things can also increase the final cost. Long utility runs, sloped yards, limited delivery access, drainage issues, electrical upgrades, special foundation needs, fire zone requirements, or late design changes can all affect the numbers.
This is not meant to scare homeowners away. It is simply better to know the full picture early. A good ADU budget is not built around the lowest number. It is built around what the project actually needs.

Handle Permits, Utilities, and Site Prep Early
Permits and utilities are not the most exciting parts of an ADU project, but they are often the parts that decide how smooth the process feels.
Permits Come Before the Big Moves
An ADU is a dwelling unit, so the local building department will usually need to review it. The exact process depends on the city, county, and property, but common review areas include setbacks, safety, energy requirements, utility connections, foundation, drainage, and access.
For units over 120 sq ft, a building permit is generally required through the local authority. Site-related work may also need approval, especially if the project includes foundation, grading, drainage, electrical, plumbing, water, or sewer work.
A modular ADU can make the building process more predictable, but it does not remove the need for local approval. The home and the site both need to be handled correctly.
Utilities Should Be Planned Early
Utilities should also be planned before the design feels locked in. A complete ADU usually needs power, water, sewer, and heating or cooling. Some projects may also need internet, separate metering, upgraded electrical capacity, or longer utility runs across the yard.
At Azure, units larger than 120 sq ft are designed with electricity, water, and sewer connections. Plumbing and electrical work is completed inside the unit before delivery, with exterior connections prepared for site hookup. That helps make the unit side more controlled, but the property side still needs proper planning.
Site Prep Makes the Installation Work
Site preparation may include clearing the area, grading the ground, managing drainage, preparing the foundation or support system, creating utility trenches, and making room for delivery. Drainage matters especially. Water should not collect under or around the ADU.
This is not the glamorous part of the project, but it is one of the most important.
From Printing to Installation
With our process, the ADU is not built from scratch in the backyard. The structural shell is robotically printed with recycled materials, then the unit is fabricated with selected finishes, systems, and interior details.
Printing Is Only One Part of the Build
The printing stage can be fast. Some structures can be printed in as little as one day. But the full process includes more than printing. Finishes, plumbing, electrical, quality checks, delivery planning, and installation coordination all still matter.
The advantage is that much of the work happens in a controlled environment instead of turning the backyard into a long construction zone. Site work can often happen while the unit is being manufactured, which can make the overall process more organized.
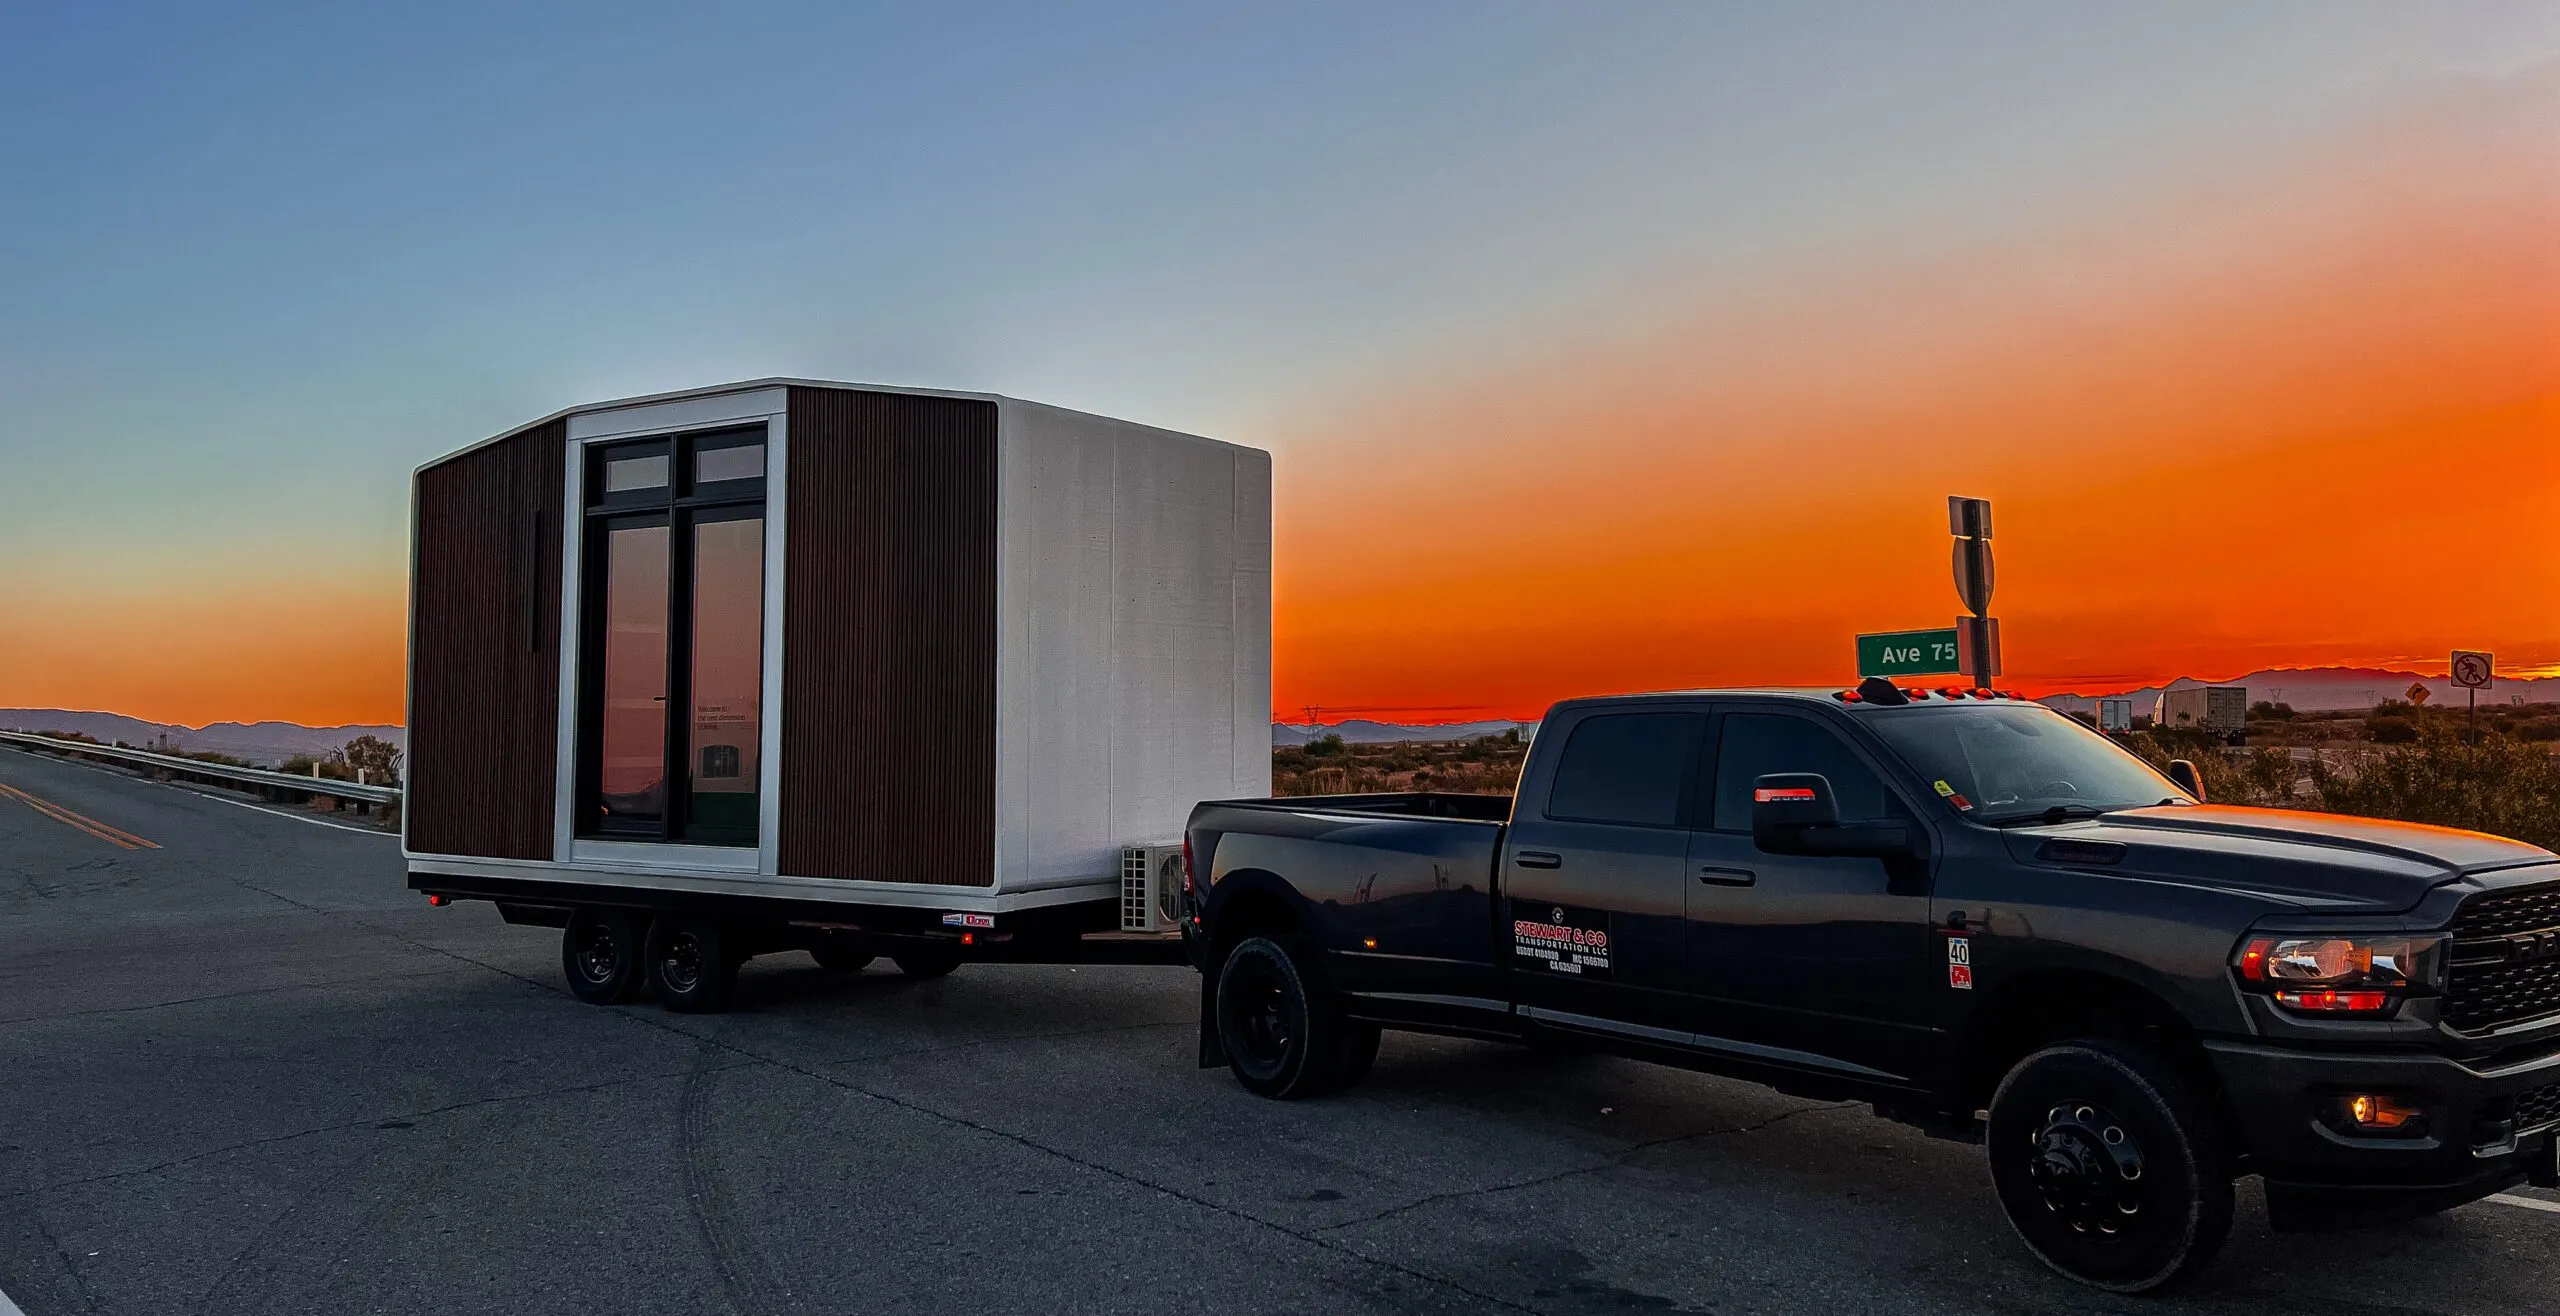
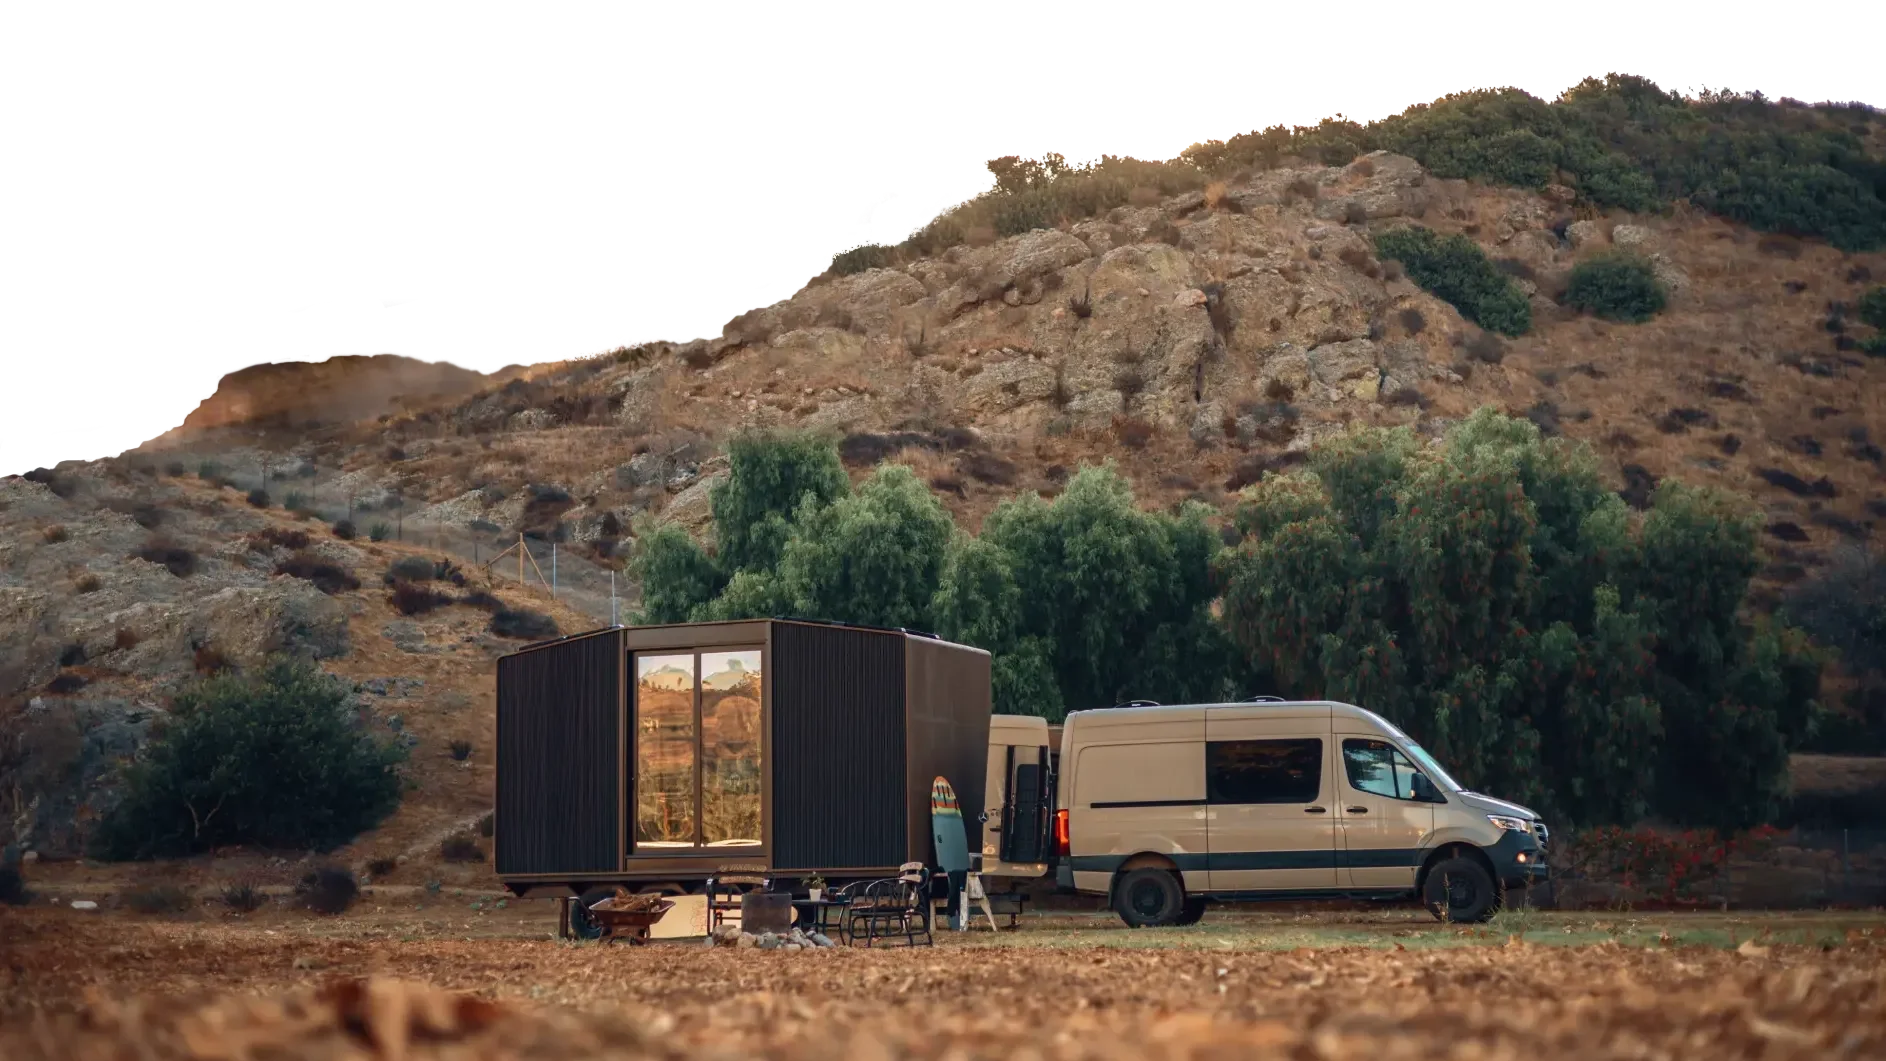
Delivery Starts With a Ready Site
Once the unit is complete and the site is ready, delivery can be scheduled. The foundation or support system should be prepared, utility connection points should be ready, and the delivery path should already be checked.
After placement, the ADU is anchored and connected to utilities. Local inspections may be required before the unit can be used.
Final Details Make It Livable
The final details also matter. Walkways, exterior lighting, privacy, internet setup, window coverings, address numbers, landscaping, and trash access may not sound major, but they affect how the ADU feels once someone actually lives there.
Common ADU Mistakes to Avoid
Most ADU problems come from assumptions made too early.
One common mistake is choosing the model before checking the property. Another is treating the starting price as the full project cost. Some homeowners also wait too long to think about utilities, which can lead to surprise trenching, electrical upgrades, or layout changes.
Access is another detail people miss. A unit may fit in the yard, but delivery and installation still need a clear path.
It is also important not to treat every small structure the same way. A backyard studio, a home on wheels, and an ADU-style dwelling may all follow different approval paths. If the goal is a legal ADU, the intended use and local rules need to be clear from the beginning.
A simple order helps:
- Define the purpose
- Check the property and local rules
- Choose the right model
- Build the full budget
- Plan utilities
- Prepare permits
- Complete site work
- Schedule delivery and installation
- Connect utilities and finish inspections
- Add the final details that make the space livable
Building an ADU becomes much easier when the project is treated as a sequence of decisions, not one giant construction problem.
Conclusion
Building an ADU does not have to be overwhelming. It just needs the right order.
Start with the reason for the ADU. Check what the property can support. Choose a model that fits the use, not just the available space. Build the budget around the whole project. Handle permits, utilities, and site prep early. Then move into manufacturing, delivery, installation, and final approvals.
At Azure Printed Homes, we build 3D-printed modular ADUs because we want the path to backyard housing to feel clearer and more predictable. The process can be faster and cleaner than a traditional build, but a successful ADU still starts with practical planning.
The best projects are not the ones that skip steps. They are the ones that put the steps in the right order, so the finished ADU works for the property, the people using it, and the future plans behind it.