A backyard studio typically starts with two numbers: the price of the unit and the cost to prepare the property. With our Azure Printed Homes, compact studio models start at $24,900, while larger 120 sq ft studio options start at $29,900.
The final cost can increase with permits, foundation needs, delivery, installation, electrical work, plumbing, HVAC, interior finishes, and site preparation. A simple office studio may need less work, while a guest-ready space with utilities will usually require a bigger budget.
Average Cost to Build a Backyard Studio
The cost to build a studio in a backyard can vary widely. A basic unfinished structure may start at a lower price, but a move-in-ready studio with finishes, utilities, delivery, and installation will cost more.
In general, the total cost depends on whether the studio is:
- A simple backyard office
- A finished creative or wellness space
- A guest studio
- A small living space with bathroom access
- A unit with electrical, plumbing, HVAC, or solar options
- A custom-designed modular structure
For Azure Printed Homes, compact studio models start at $24,900 for A/D/C-100 and N100 models. A/D/C-120 studio models start at $29,900.
These prices give property owners a clearer starting point than many traditional backyard builds, where costs can shift based on labor, materials, contractor schedules, and site work.
Backyard Studio Cost by Size and Use
The size of the studio is one of the biggest cost factors. A smaller studio may be enough for work, fitness, art, music, or quiet personal space. A larger unit may be better for guests, flexible living, or long-term use.
| Backyard Studio Type | Common Use | Azure Starting Price |
| Around 100 sq ft | Office, creative studio, private workspace | From $24,900 |
| Around 120 sq ft | Larger studio, guest space, hobby room, wellness room | From $29,900 |
| Larger ADU-style space | Guest suite, rental-style use, extended living | From $49,900 |
A smaller backyard studio can be a smart choice when the goal is to add functional space without taking over the yard. It can support everyday life without requiring a large construction project.
What Affects the Cost of Building a Studio in a Backyard?
The studio itself is only one part of the budget. The final project cost can also depend on the property and how the space will be used.
Site Preparation
Before a backyard studio can be installed, the site may need preparation. This can include grading, clearing, access planning, drainage work, foundation preparation, or utility coordination.
A flat and accessible backyard is usually easier to work with. A tight, sloped, or hard-to-access site may require more planning.
Permits and Local Rules
Permit requirements depend on the city, county, and intended use of the studio. Some backyard studios may be treated differently than full ADUs, especially if they do not include a kitchen or bathroom.
It is important to check local rules early. Zoning, setbacks, utility connections, occupancy rules, and foundation requirements can all affect the project.
Utilities
A backyard studio used as an office may only need electricity and internet. A guest studio or living space may need plumbing, heating, cooling, wastewater connections, and more.
Common utility considerations include:
- Electrical connection
- Lighting and outlets
- Heating and cooling
- Plumbing
- Bathroom access
- Internet
- Solar or battery options
- Water and wastewater systems
The more utility work a project needs, the more the total cost can increase.
Interior Finishes
Interior finishes also affect the price. Flooring, walls, lighting, built-in storage, bathroom fixtures, cabinetry, and other details can change the final budget.
At Azure, the process includes configuring the unit, robotically printing the structure, installing finishes, delivery, and on-site installation. This helps create a clearer path from design to finished space.
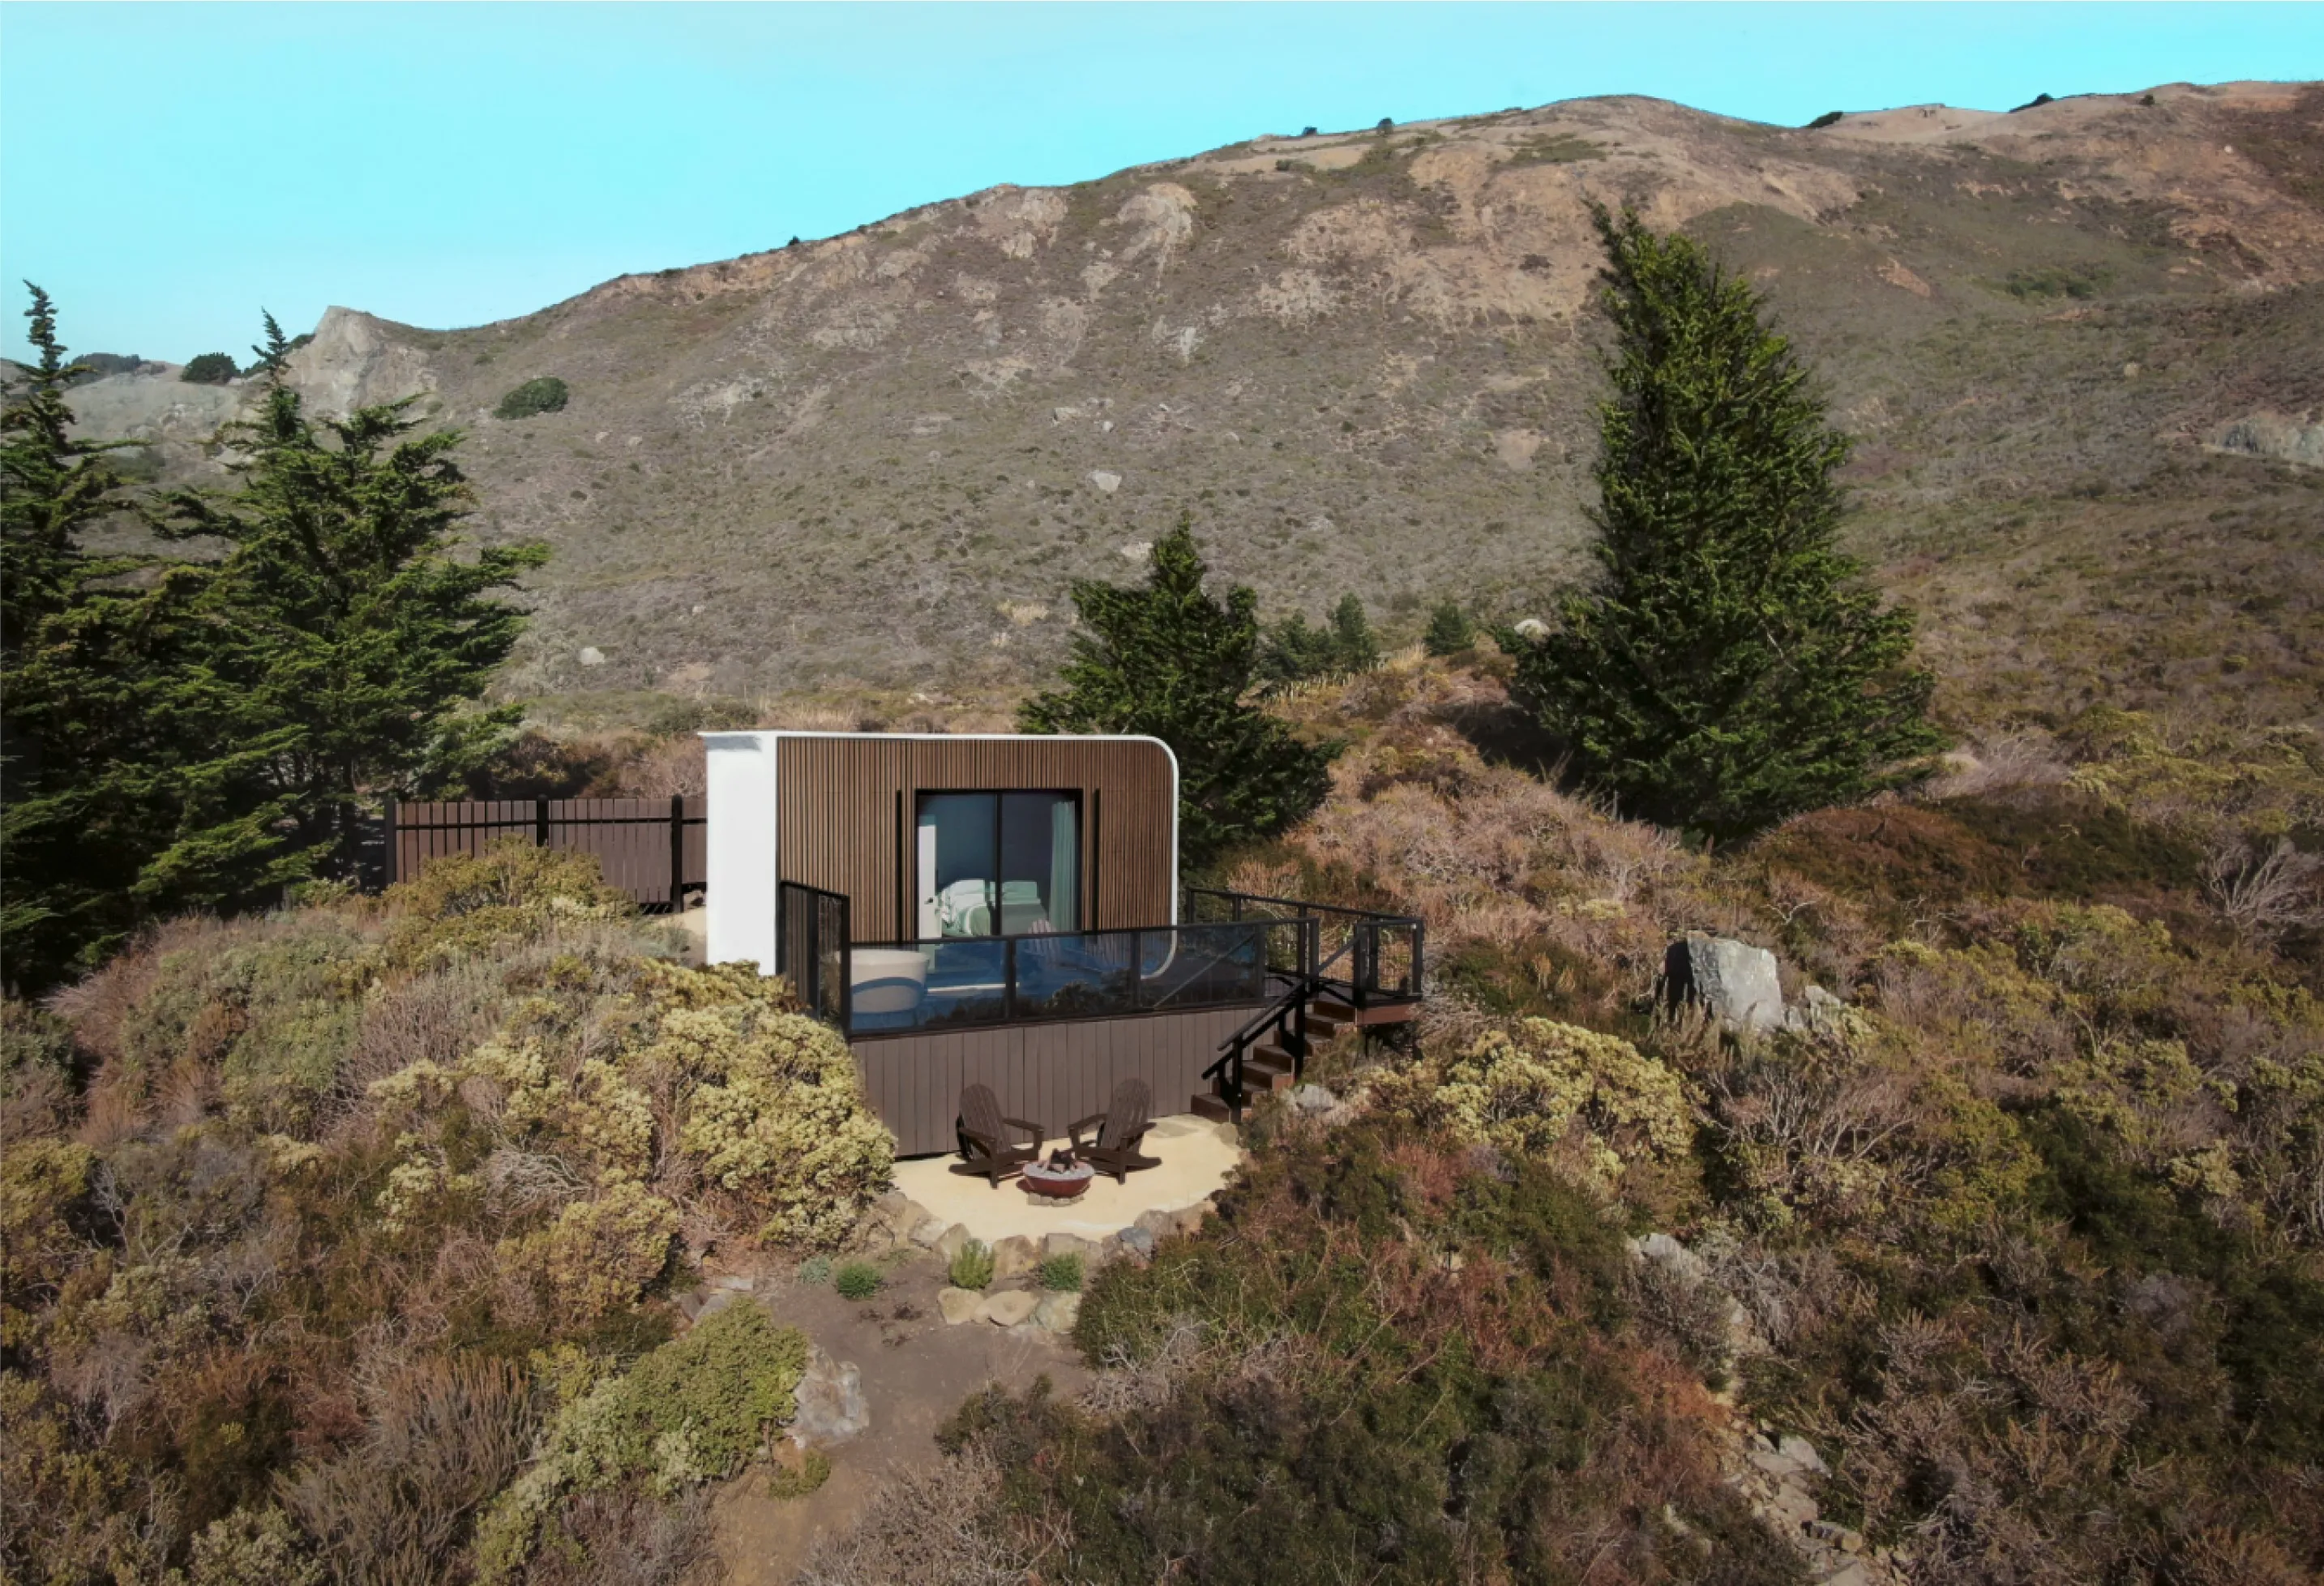
Features That Add Value to a Backyard Studio
Not every upgrade delivers the same return. Some features can improve comfort, functionality, and long-term usability far more than others. Whether the studio is being used as a home office, guest retreat, creative space, or wellness room, the right features can make the space feel more comfortable and useful every day.
Popular value-adding features include:
- Large windows and natural light: Create a brighter, more open atmosphere and reduce reliance on artificial lighting during the day.
- Energy-efficient insulation: Helps maintain comfortable indoor temperatures throughout the year.
- Heating and cooling systems: Support year-round use, regardless of climate conditions.
- Solar and battery options: Support energy efficiency and greater independence where appropriate.
- Reliable internet connectivity: Supports remote work, virtual meetings, streaming, and everyday communication.
- Sound control features: Help create a quieter environment for work, creativity, or relaxation.
- Smart home features: May include programmable lighting, climate control, and security systems.
The best combination of features depends on how the studio will be used. A backyard office may prioritize internet connectivity, sound control, and lighting, while a guest space may benefit more from climate control, privacy, and additional storage.
It can also be helpful to think beyond immediate needs. Choosing durable materials, efficient systems, and adaptable layouts from the beginning can help the studio remain useful for years to come. A space designed for one purpose today may eventually serve an entirely different role, making flexibility one of the most valuable features of all.
Traditional Backyard Studio vs. Modular Studio
A traditional backyard studio is often built on-site. That can work well, but it may involve multiple contractors, changing material costs, weather delays, and a longer construction timeline.
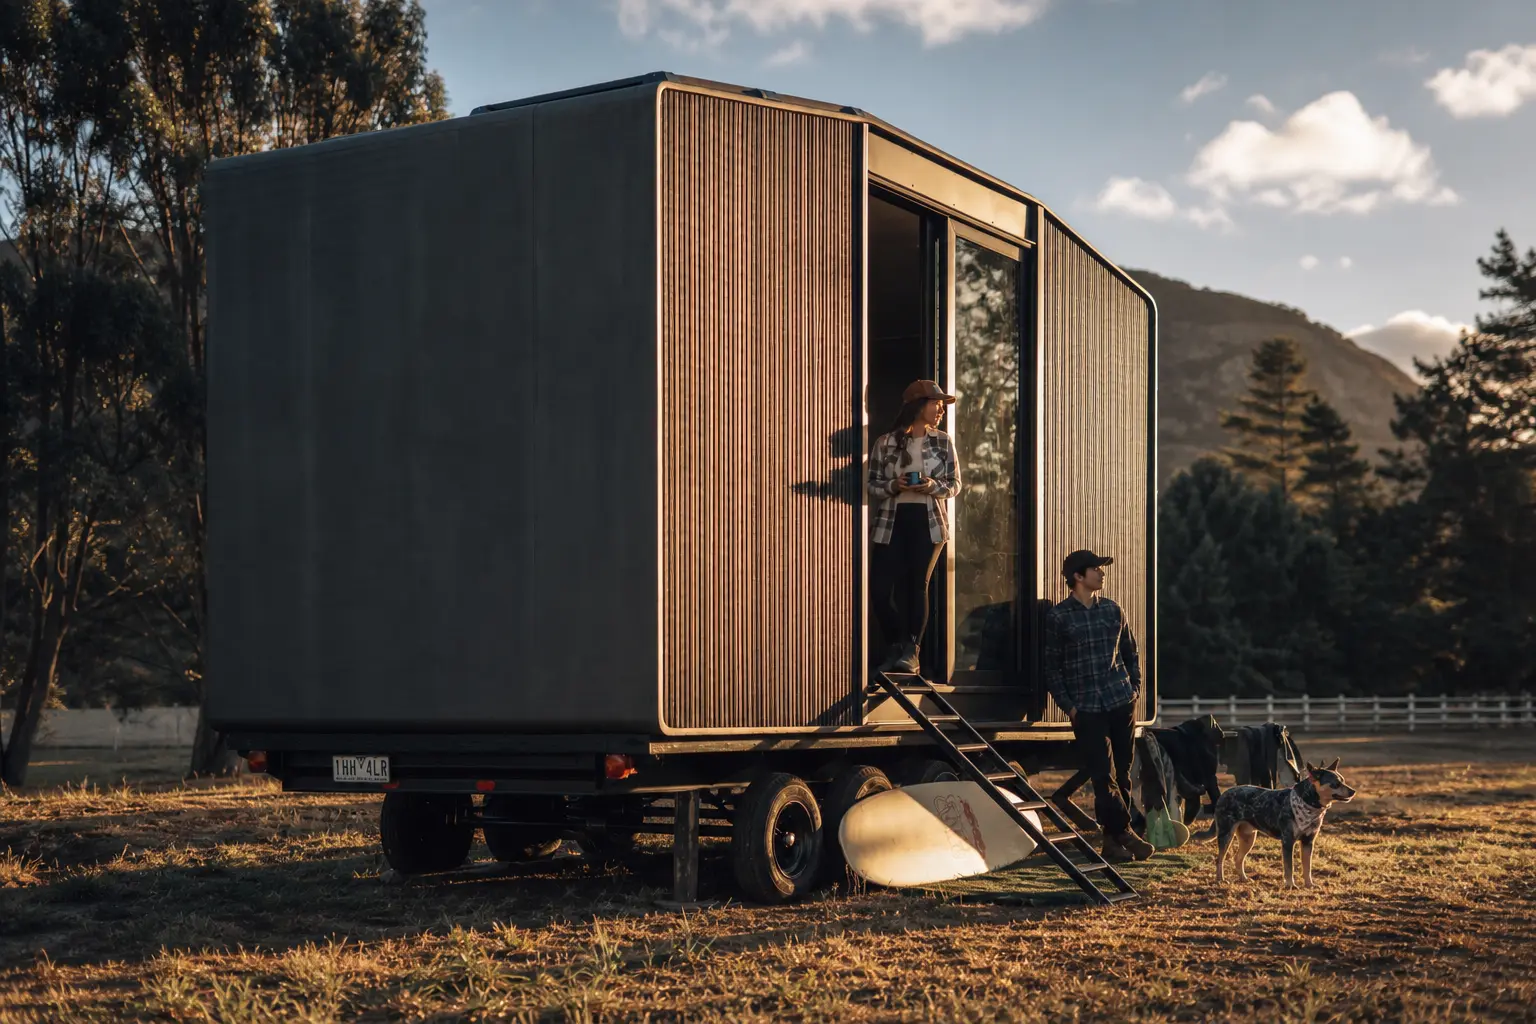
A modular studio is different. Much of the work happens in a more controlled production process before the unit arrives on the property.
For many homeowners, this can make the project feel simpler. Instead of managing a long build in the backyard, they can choose a model, customize key details, and prepare the site while the unit is produced.
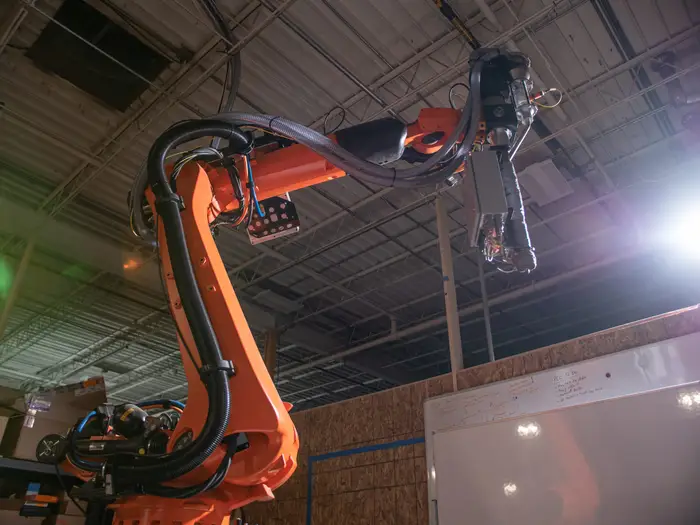
Azure’s 3D-printed construction process is designed to reduce waste, improve precision, and speed up production. For a 120 sq ft unit, about 100,000 plastic bottles are used in the printed material. That gives the studio a practical purpose while also supporting a more efficient use of resources.
Why a 3D-Printed Backyard Studio Can Make Sense
A backyard studio should feel useful, not complicated. It should fit the property, support the way people live, and offer enough flexibility for future needs.
A 3D-printed studio can be a strong option because it brings together several benefits:
- Faster production compared with many traditional builds
- Recycled materials in the printed structure
- Customizable designs
- Efficient use of backyard space
- Durable modular construction
- Modern appearance
- Reduced construction waste
- Clear model-based pricing
For homeowners who want a modern backyard space without starting from scratch with a custom build, this approach can make the planning process easier.
How Long Does It Take to Build a Backyard Studio?
Timeline matters, especially if the studio will be used for work, guests, rental-style income, or a planned lifestyle change.
The process is commonly built around five main steps:
1. Configuring the Unit
The first step is choosing and customizing the design. This helps match the studio to its intended use, whether that is work, creativity, relaxation, or extra living space. At this stage, homeowners can think through layout, finishes, features, and how the unit should function day to day.
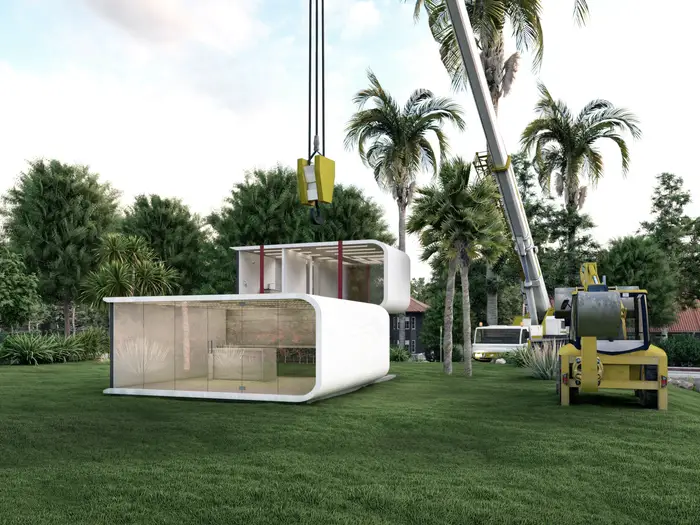
2. Printing the Structure
The home is robotically printed with recycled materials. This step can be completed in as little as one day, depending on the project. The printed shell gives the studio its main structure and helps reduce construction waste compared with many traditional building methods.
3. Adding Finishes
Finishes may include electrical, plumbing, interior finishes, and other selected details. This stage typically takes longer than printing because it turns the structure into a usable space. It is also where the studio starts to feel more personal, practical, and ready for its intended use.
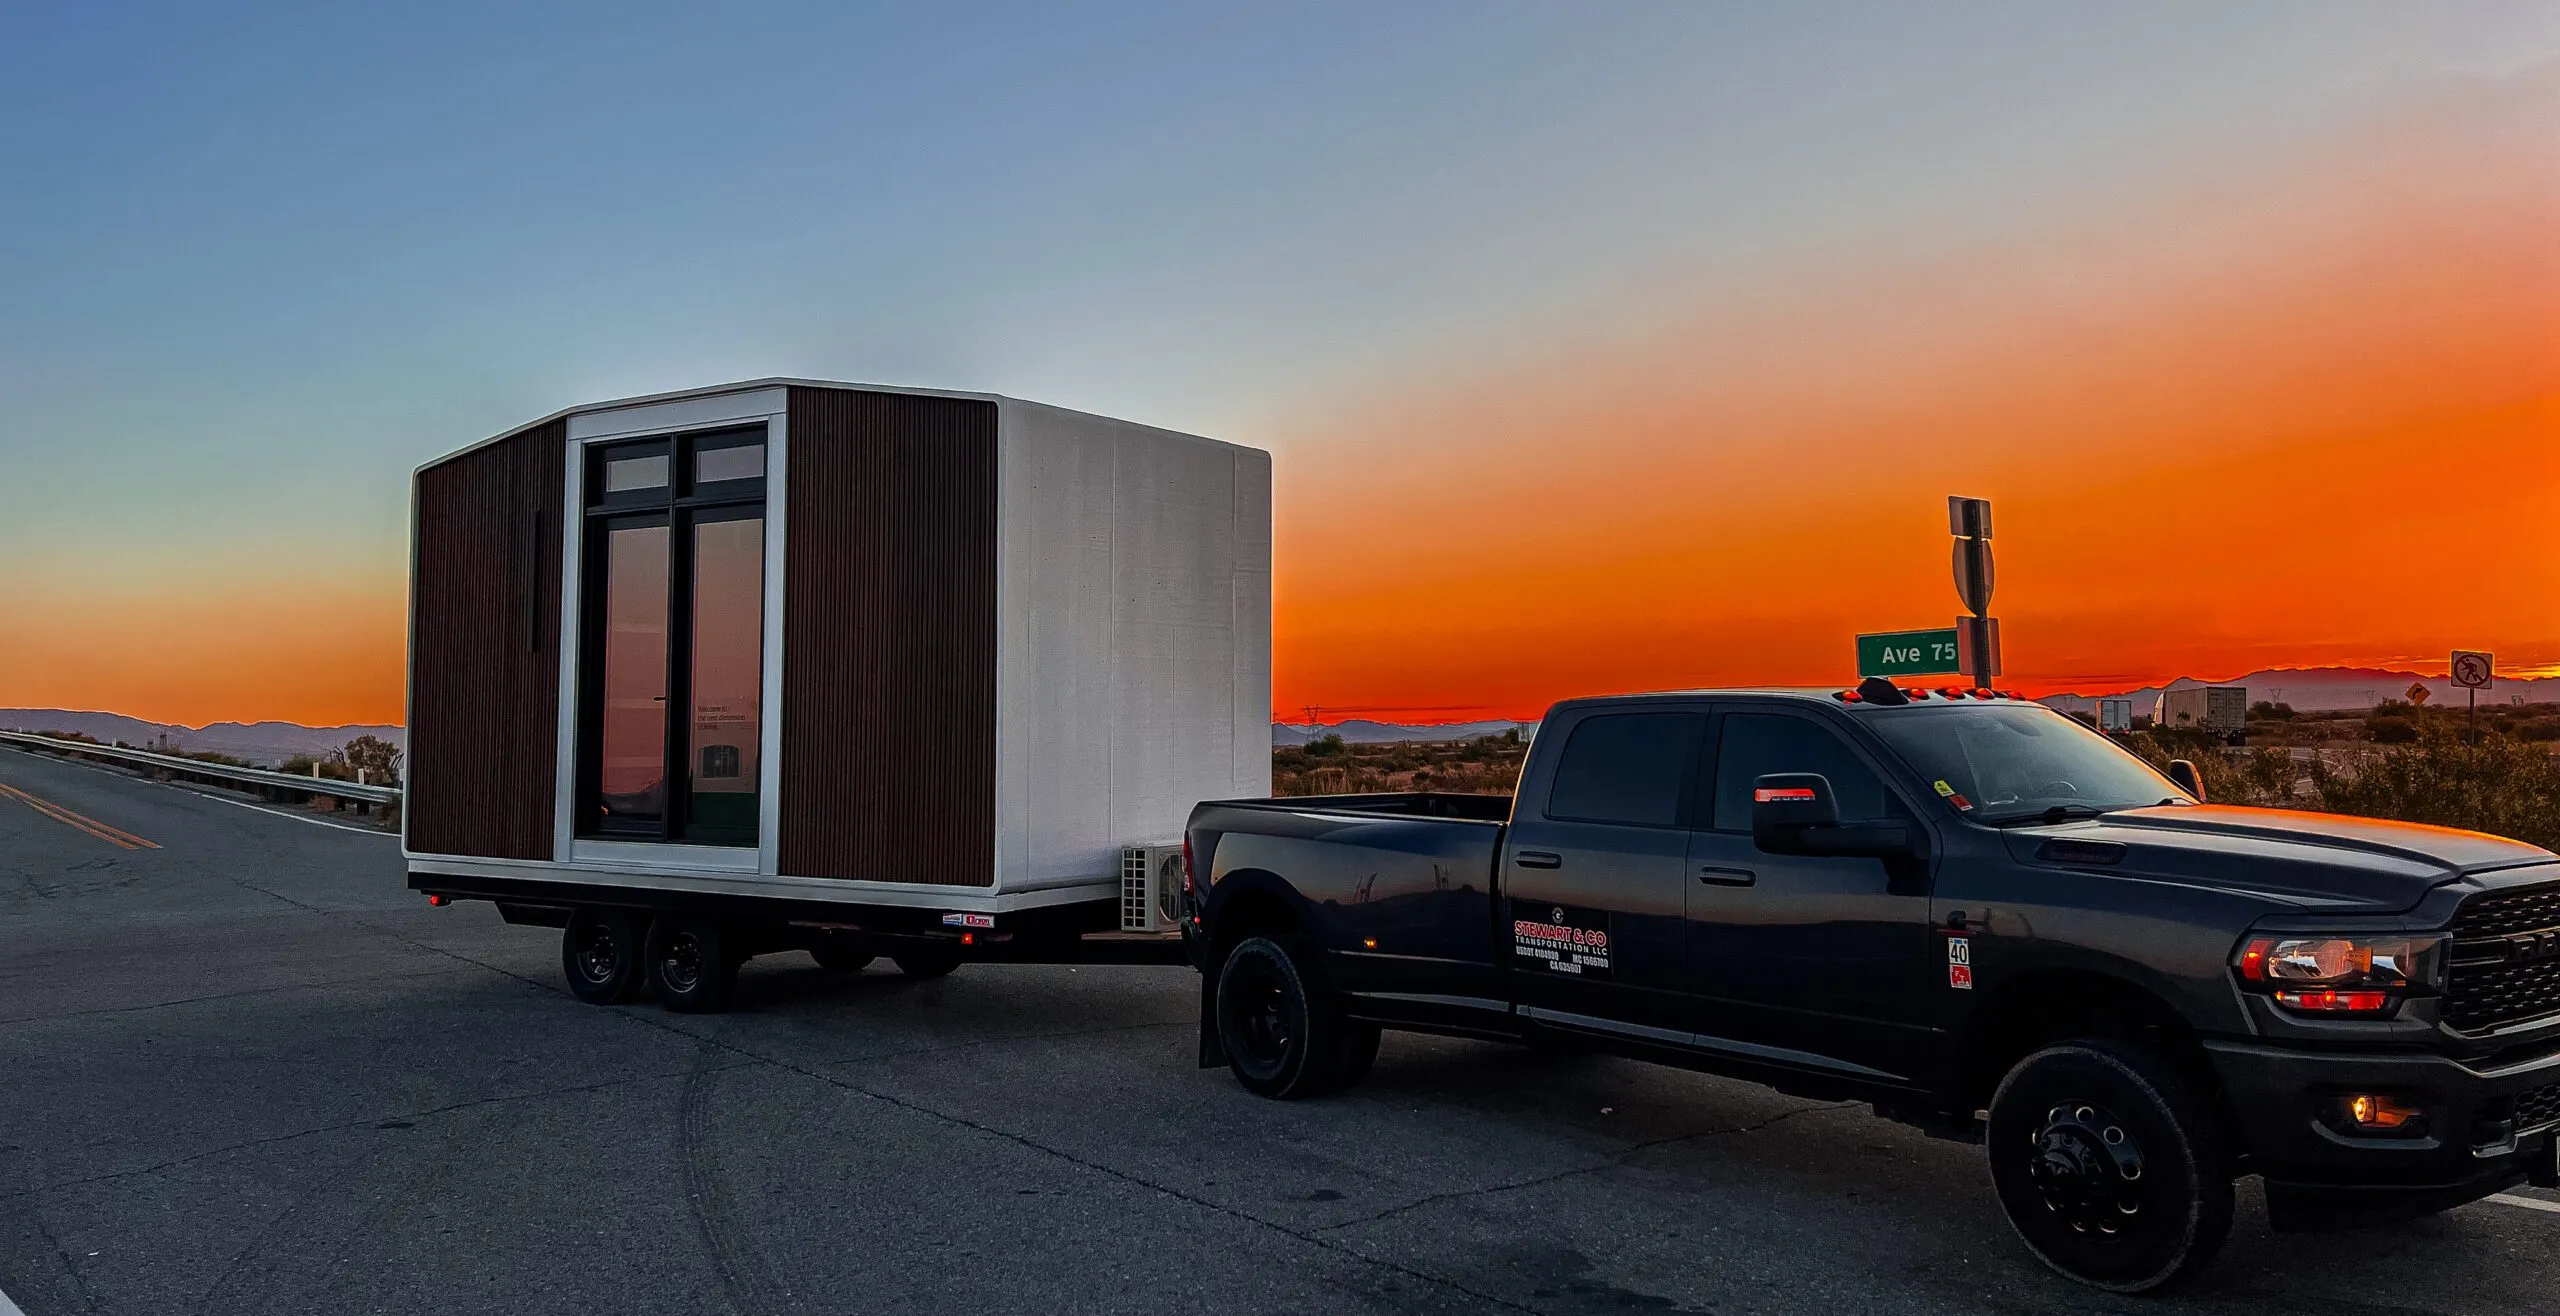
4. Delivery
Once the unit is complete, it is delivered to the property. This helps reduce the amount of active construction happening in the backyard and keeps more of the work in a controlled production process.
5. On-Site Installation
The final step is installation and service connections, so the studio can become ready for use. This may include placing the unit, connecting necessary services, and making sure the space works properly on the prepared site.
This kind of process can be helpful for homeowners who want a more predictable route than a fully traditional backyard construction project.
Tips for Planning Your Backyard Studio Budget
A few simple planning steps can help avoid unexpected expenses and make it easier to choose the right solution.
Start With the Intended Use
The purpose of the studio will influence nearly every budget decision. A home office may only need electricity, internet, and climate control, while a guest-ready space may require additional utilities, privacy features, and higher-end finishes.
Before comparing models or prices, define exactly how the space will be used both now and in the future.
Set Aside a Site Preparation Budget
Even when the studio arrives ready for installation, the property may still need preparation. Site work can include:
- Grading and leveling
- Drainage improvements
- Foundation or pad preparation
- Utility trenching
- Access improvements for delivery and installation
Planning for these costs from the beginning can help prevent budget overruns later.
Research Local Permit Requirements
Permits, inspections, and zoning requirements vary by location. Some projects move through the approval process quickly, while others may require additional reviews or site-specific adjustments.
Checking local requirements early can help homeowners build a more realistic budget and timeline.
Prioritize Features That Matter Most
It can be tempting to include every possible upgrade, but focusing on the features that will be used every day often creates the best value.
Examples include:
- Efficient heating and cooling
- Natural light
- Durable flooring
- Reliable internet connectivity
- Storage solutions
- Energy-efficient systems
These features often have a greater impact on daily comfort than purely cosmetic upgrades.
Leave Room for Contingencies
No project is exactly the same. Utility connections, site conditions, permit requirements, and installation logistics can vary from property to property.
Many homeowners find it helpful to reserve a portion of their budget for unexpected costs. Having a contingency fund can provide flexibility without disrupting the overall project.
Think Beyond the Initial Cost
The lowest upfront price is not always the best long-term value. Durable materials, efficient systems, and thoughtful design can help reduce maintenance, improve comfort, and extend the useful life of the space.
When comparing options, it can be helpful to consider both the initial investment and the long-term benefits the studio will provide over the years ahead.
Final Thoughts
So, how much does it cost to build a studio in a backyard?
For a modern modular studio from Azure Printed Homes, compact studio models start at $24,900, while larger 120 sq ft studio options start at $29,900. The final project cost can vary depending on site preparation, permits, utilities, finishes, delivery, and installation needs.
A backyard studio is more than an extra room. It can be a smarter way to use the space a property already has. With the right planning, it can become a private office, guest space, creative room, or flexible retreat that supports daily life for years.
At Azure, we believe the future of living should be practical, sustainable, and easier to bring home. Our 3D-printed studios are built for that idea: modern spaces, recycled materials, customizable designs, and a faster path from concept to usable backyard space.